Deploying web apps with Nginx - web server, reverse proxy and SSL
This article covers setting up Nginx web server for SPAs and PWAs, reverse proxy for APIs & SSR apps, and installing a free SSL certificate

I'm a developer from Nairobi, Kenya. I have a BSc in Computer Science and I'm pursuing an MSc in AI.
I mostly do full-stack web development. I do pay attention to the finer details, so stay tuned for awesome articles.
Welcome, gentlest reader, to this trusty guide through the labyrinth of web server configurations, reverse proxies and virtual hosts. Picture this: after hard work and meticulous coding, you're ready to unleash your masterpiece of a web application to the glorious Internet.
But how, you ask? Well, you would need a server of course, virtual or otherwise. Then comes the interesting part - setting up your web server/reverse proxy and securing it with a free SSL from Let's Encrypt. Let's navigate the intricacies of configuring a web server for your SPA or PWA, along with establishing a reverse proxy for your API or SSR web app, all while ensuring the security of your web application. Fear not, for you'll swiftly find yourself cruising through these tasks, ready to conquer the digital realm in record time.
Why Nginx?
Nginx (pronounced "engine X" /ɛndʒɪnˈɛks/) is a powerful open source web server and reverse proxy with amazing features like load balancing and a huge community.
So why choose Nginx over other popular choices like Apache or HA Proxy? Nginx is simply faster, lightweight, incredibly easy to configure, and it scales well on limited hardware. If you've worked with Apache before, Nginx's simple and readable config syntax is a much welcome respite from Apache's config mess and .htaccess hell.
Installing Nginx
Use your preferred package manager to install Nginx. Here is the standard way:
sudo apt install nginx
Verify the install. This should show you the Nginx version you have installed.
sudo nginx -v
Setting up a webserver for SPA or PWA
Single Page Apps (SPAs) and Progressive Web Apps (PWAs) are simply static files that need a web server to serve them to the outside world. Nginx site configs can be found in the /etc/nginx/sites-available folder. For each site on your server, you should have a .conf file for your site configuration. Here's how you write one:
server {
    listen 80 http2;
    server_name <domain_name>;

    root <path_to_project>/public;

    add_header X-Frame-Options "SAMEORIGIN";
    add_header X-XSS-Protection "1; mode=block";
    add_header X-Content-Type-Options "nosniff";

    index index.html;

    charset utf-8;

    location / {
        try_files $uri $uri/ /index.html;
    }

    location = /robots.txt  { access_log off; log_not_found off; }

    access_log off;
    error_log  /var/log/nginx/<domain_name>-error.log error;

    location ~ /\.(?!well-known).* {
        deny all;
    }
}
We are telling Nginx to listen to HTTP requests on port 80. Don't worry, we'll configure HTTPS in a minute. Then we are defining our project server_name and root folder (public folder). We are also adding some HTTP headers to secure our site. The rest, like setting the index file, character set, access log and error log settings, are basically just common configurations.
Ensure you replace
domain_nameandpath_to_projectin the above template to the appropriate values for your project.
Let's enable our virtual host. You can do that by symlinking your conf file to the /etc/nginx/sites-enabled directory.
sudo ln -s /etc/nginx/sites-available/<conf-file> /etc/nginx/sites-enabled/<conf-file>
Hmm. Will that work? Let's check Nginx config for any syntax errors:
sudo nginx -t
Now let's list virtual hosts and see if ours is listed.
sudo nginx -T
If everything is fine till this point, it's time to reload and restart Nginx.
sudo systemctl reload nginx
sudo systemctl restart nginx
Voila! Now Nginx will happily serve up your SPA or PWA to anyone who comes knocking.
Tapping into the power of reverse proxies for APIs and SSR apps
If your API or SSR app is not written in PHP, you will probably need a reverse proxy behind the scenes to channel requests to the running API or SSR web server. The Nginx configuration is quite simple:
server {
    server_name <domain_name>;
    location / {
      proxy_set_header Host $host;
      proxy_set_header X-Real-IP $remote_addr;
      proxy_pass http://localhost:<port>;
    }
    server_tokens off;
}
Ensure you replace
domain_nameandportin the above template to the appropriate values for your project.
Save this in a .conf file in the /etc/nginx/sites-available directory. We'll then need to enable our virtual host by symlinking the conf file to the /etc/nginx/sites-enabled directory.
sudo ln -s /etc/nginx/sites-available/<conf-file> /etc/nginx/sites-enabled/<conf-file>
Let's check if Nginx config syntax is correct:
sudo nginx -t
Now let's list virtual hosts and see if ours is listed.
sudo nginx -T
If everything is fine till this point, it's time to reload and restart Nginx.
sudo systemctl reload nginx
sudo systemctl restart nginx
With this reverse proxy configuration in place, Nginx will seamlessly shuttle those SSR and API requests back and forth like a well-oiled machine.
Securing your site with a free SSL certificate
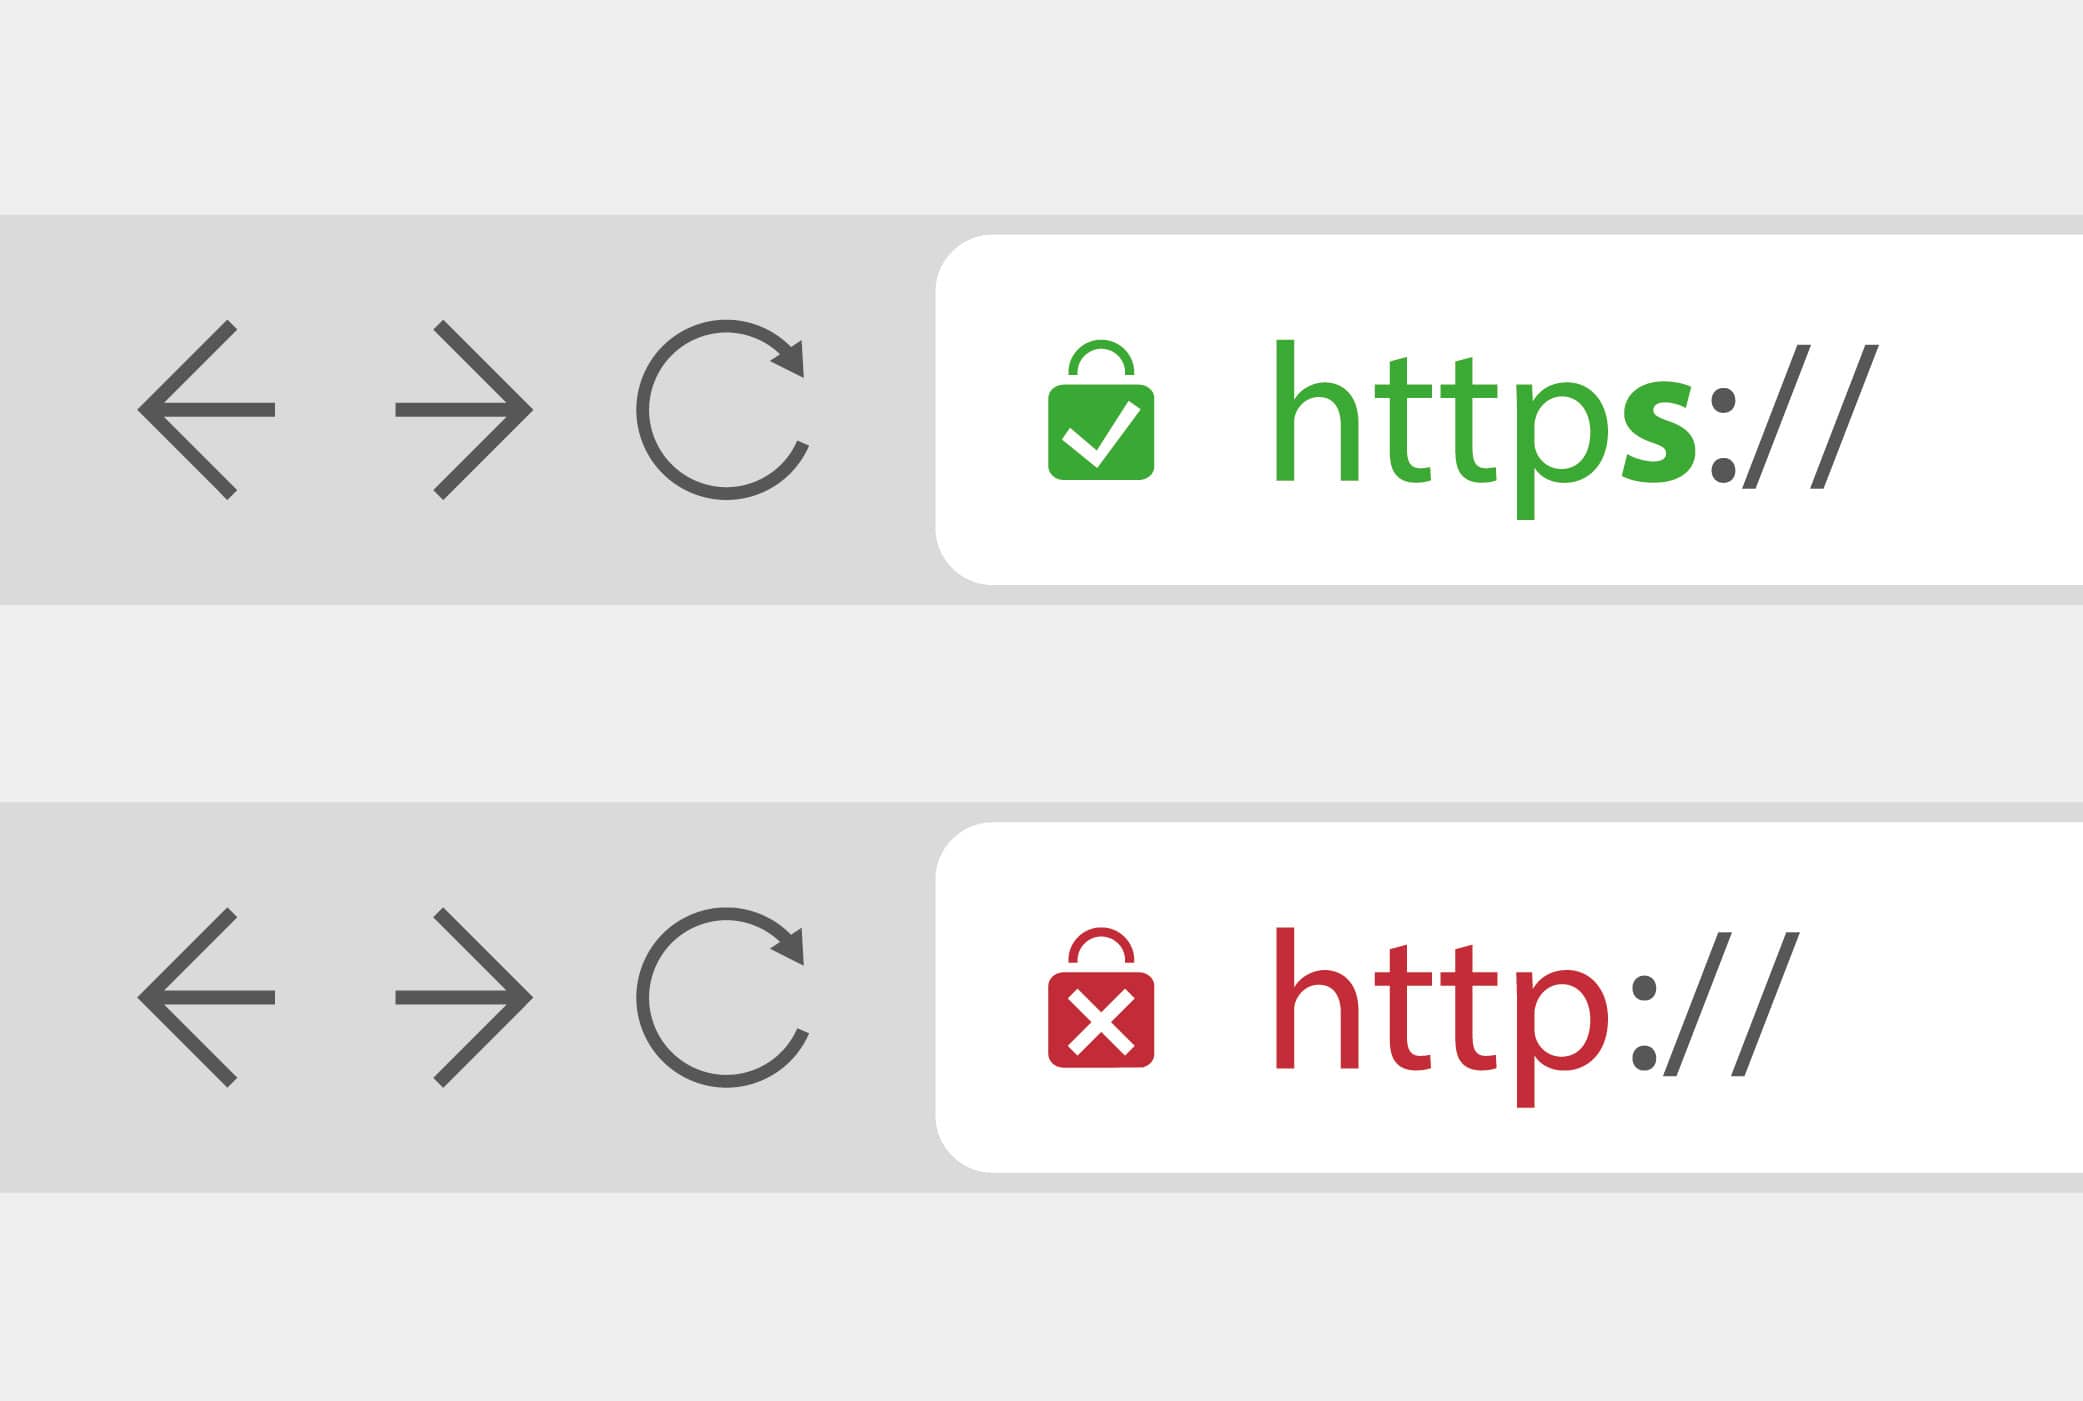
Last but certainly not least, let's talk about everyone's favorite topic: security. In this day and age, no self-respecting web server would dare venture onto the internet without a trusty SSL certificate. Why? Because it will enable your site to use Secure HyperText Transfer Protocol (HTTPS), which uses Secure Socket Layer (SSL)/Transport Layer Security (TLS) to encrypt all traffic between the server and client devices. To put it in plain words, we are putting the green secure padlock on the browser URL bar for our site.
Good old Certbot from Let's Encrypt will do that for us in a snap with the following steps:
The steps described are for Ubuntu OS. If your server uses a different OS, check here for instructions.
1. Connect to your server
Connect to your server using SSH or using your preferred method.
2. Install snapd
sudo apt install snapd
3. Remove old certbot packages
sudo apt remove certbot
4. Install certbot
sudo snap install --classic certbot
5. Prepare Certbot
sudo ln -s /snap/bin/certbot /usr/bin/certbot
6. Run Certbot
sudo certbot --nginx
Provided you had working virtual host configurations, small little Certbot will magically modify those configurations to listen for HTTPS using the installed SSL certificate.
7. Test automatic reunion
sudo certbot renew --dry-run
Why the renew dry run, you might be wondering? Well, Let's Encrypt SSL certificates have a short validity period of around 3 months. You will have to renew your SSL certificate preferably before it expires.
You can now test your site live. Don't hesitate to comment below if you run into any hitches.
And there you have it – the magic of reverse proxies unveiled! So go forth, brave adventurers, and may your websites be fast, your virtual hosts be plentiful, and your SSL certificates be forever valid. Until next time, happy hosting!